How to use X Creator Kit
Install the free desktop Chrome extension, read your first X Analytics tab, or jump to the tool you came for.
Add to ChromeExtension v0.3.0 shown with example data. Open an image to see it at full size.
Install and open
Install in desktop Chrome
Open the X Creator Kit listing in a regular Chrome window. Choose Add to Chrome, then Add extension in Chrome’s confirmation. Use Chrome’s installation help if the Store cannot add it.

Find the chooser in the toolbar
In Chrome, select Extensions, the puzzle-piece icon beside the address bar. Select X Creator Kit to open the chooser. Use the pin beside its name if you want its icon to stay in the toolbar. If the Quick tour opens, you can step through it or close it.
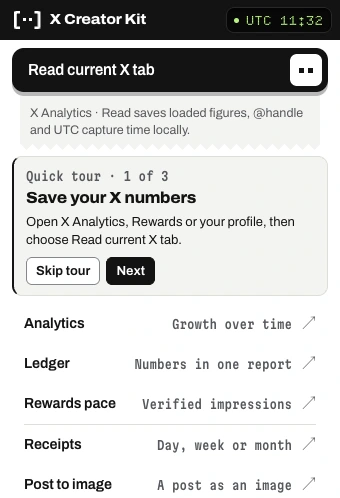
Read X Analytics for the first time
Open the Analytics Overview
Sign in to your own X account and open X Analytics. You can also choose Open X Analytics from the extension’s Analytics tool. For your first read, leave the verified-only filter off so you capture All viewers. Choose a date range and wait for the chart to load. Keep that tab in front and open the X Creator Kit toolbar chooser.

Read the open tab
Choose Read current X tab. Look for Analytics refreshed and the count of days saved. Rewards and Profile are marked as skipped for this read. Choose Analytics in the chooser to see your saved history. If the read fails, check the message, wait for the chart to load, and try again from that tab.
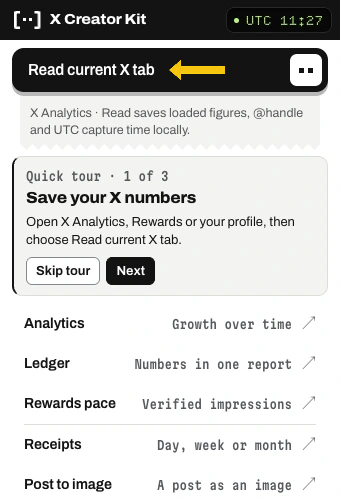
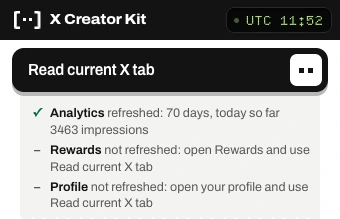
Example data
Compare and export X Analytics
Set the range and comparison
Open Analytics from the chooser. Under Range, pick a period such as Last 7 days. Under Compare, select Previous period. Comparing totals needs complete readings for both periods. To keep a separate Verified only history, select that audience in X Analytics and read the tab again.
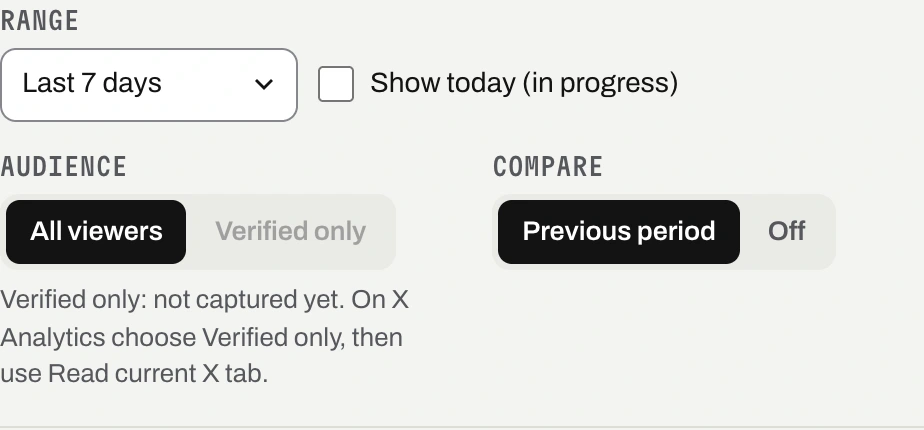
Choose a chart and select Share image
Pick a metric such as Impressions. With daily grouping and complete prior values, the chart draws the earlier days as a grey line. Select Share image on the chart or section you want.
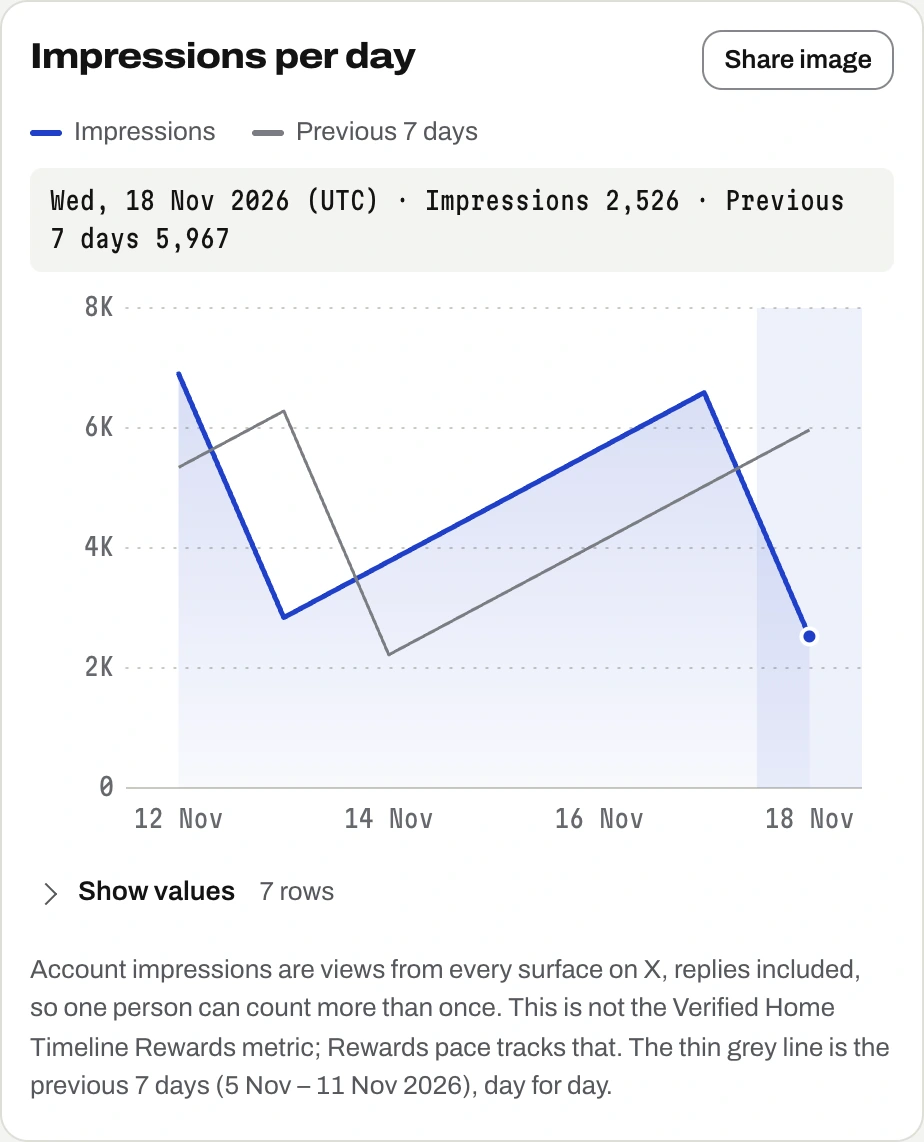
Example data Copy or download the chart
In Share image, untick Show @handle if you want to leave your handle out. Choose Copy image or Download PNG.

Download a Ledger summary
Choose period and format
Ledger uses All viewers. If your only read was verified-only, switch back to all viewers in X Analytics and read the tab again. Open Ledger. Choose a Period such as 7D, a Format and a Card theme. Tick Compare to include previous-period changes where readings support them. The card shows a dash for unavailable figures.
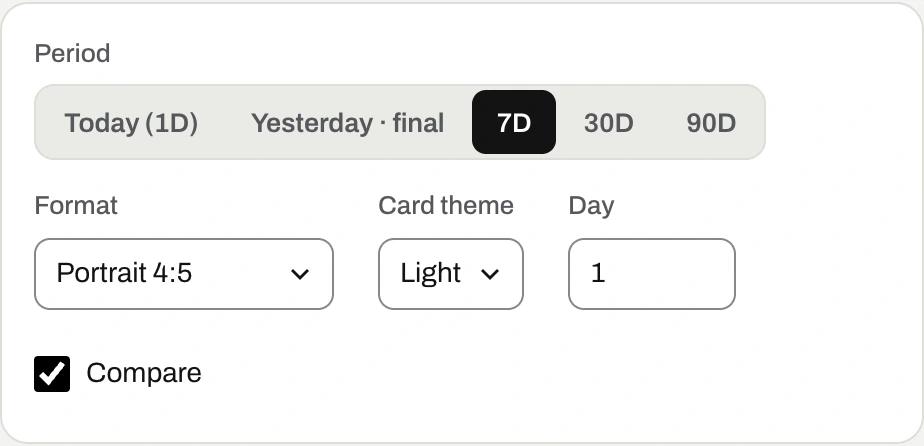
Download your card
Check the card preview. Choose Zoom to read to inspect a small preview, or Download PNG to save it to your device.

Read Original Content Rewards
Open Rewards and read that tab
In Rewards pace, choose Open Rewards on X from the empty reading panel, or Open Rewards at the top. In Creator Studio, wait for the Original Content Rewards figure to load. Open the toolbar chooser on that tab and select Read current X tab. Look for Rewards refreshed or Rewards re-confirmed.
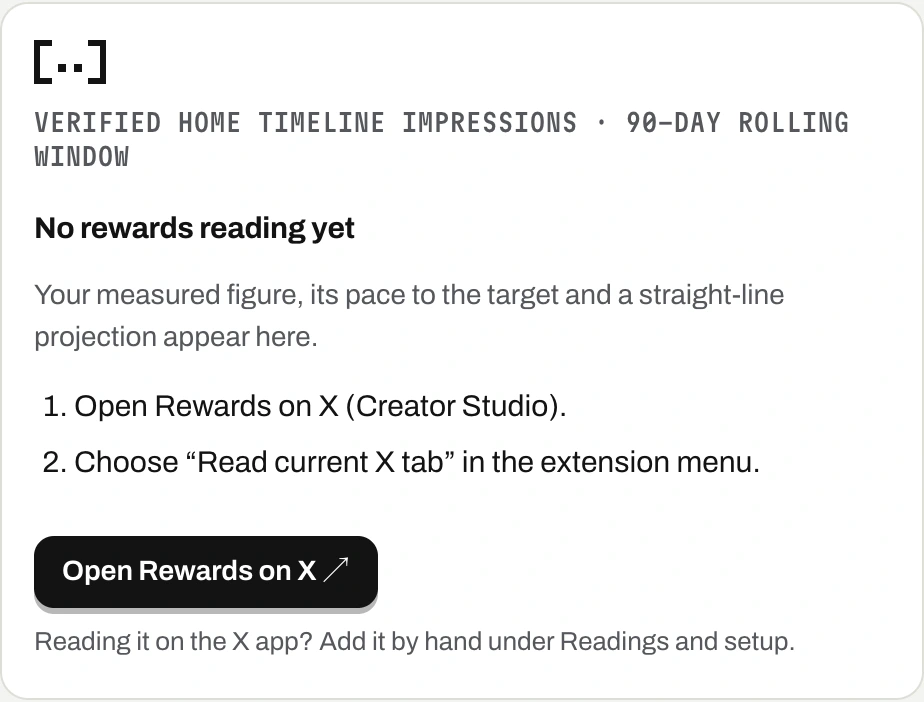
Check the recorded figure and pace
Return to Rewards pace. It tracks the 90-day Verified Home Timeline impressions figure, excluding replies. Pace appears when you have an earlier reading 2–10 UTC days before your latest reading. It is a labelled straight-line estimate. The default 500K target is one part of X’s eligibility rules.
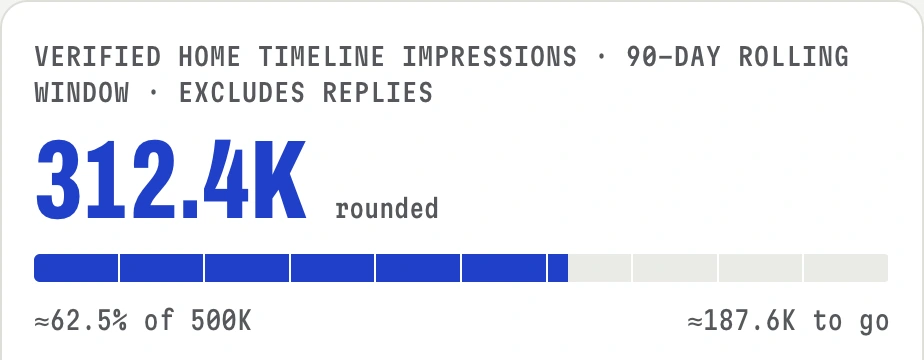
Example data 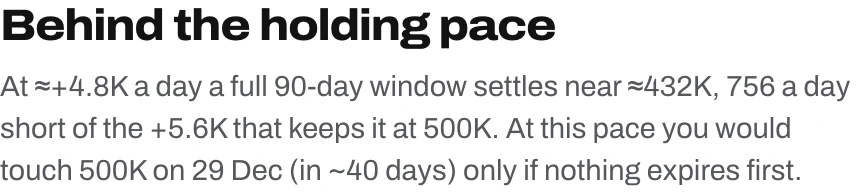
Example data
Make a daily growth receipt
Choose the account for your receipts
From the chooser, open Rewards pace. Under Readings and setup, open Settings. Enter the same X username you read in Your handle, then choose Save settings. Daily receipt figures come from this account’s All viewers read.
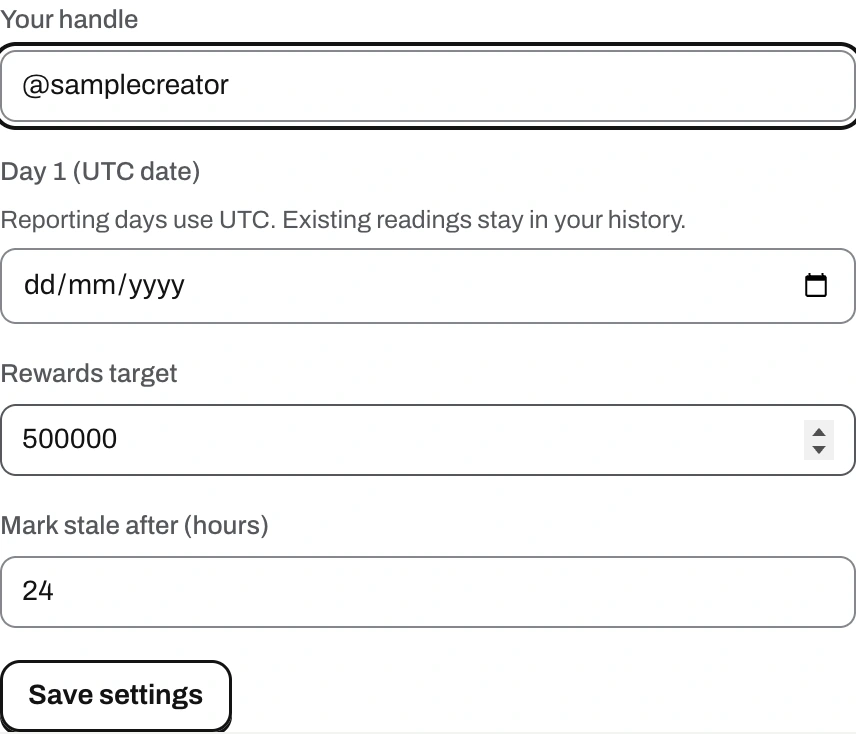
Example account Set up a Day receipt
Read X Analytics with today included, then open Receipts and choose Day for today’s UTC receipt. Pick a Scene, a Colourway and up to four Lines. Enter your start date in Day 1 if you want the receipt to count from that UTC date.
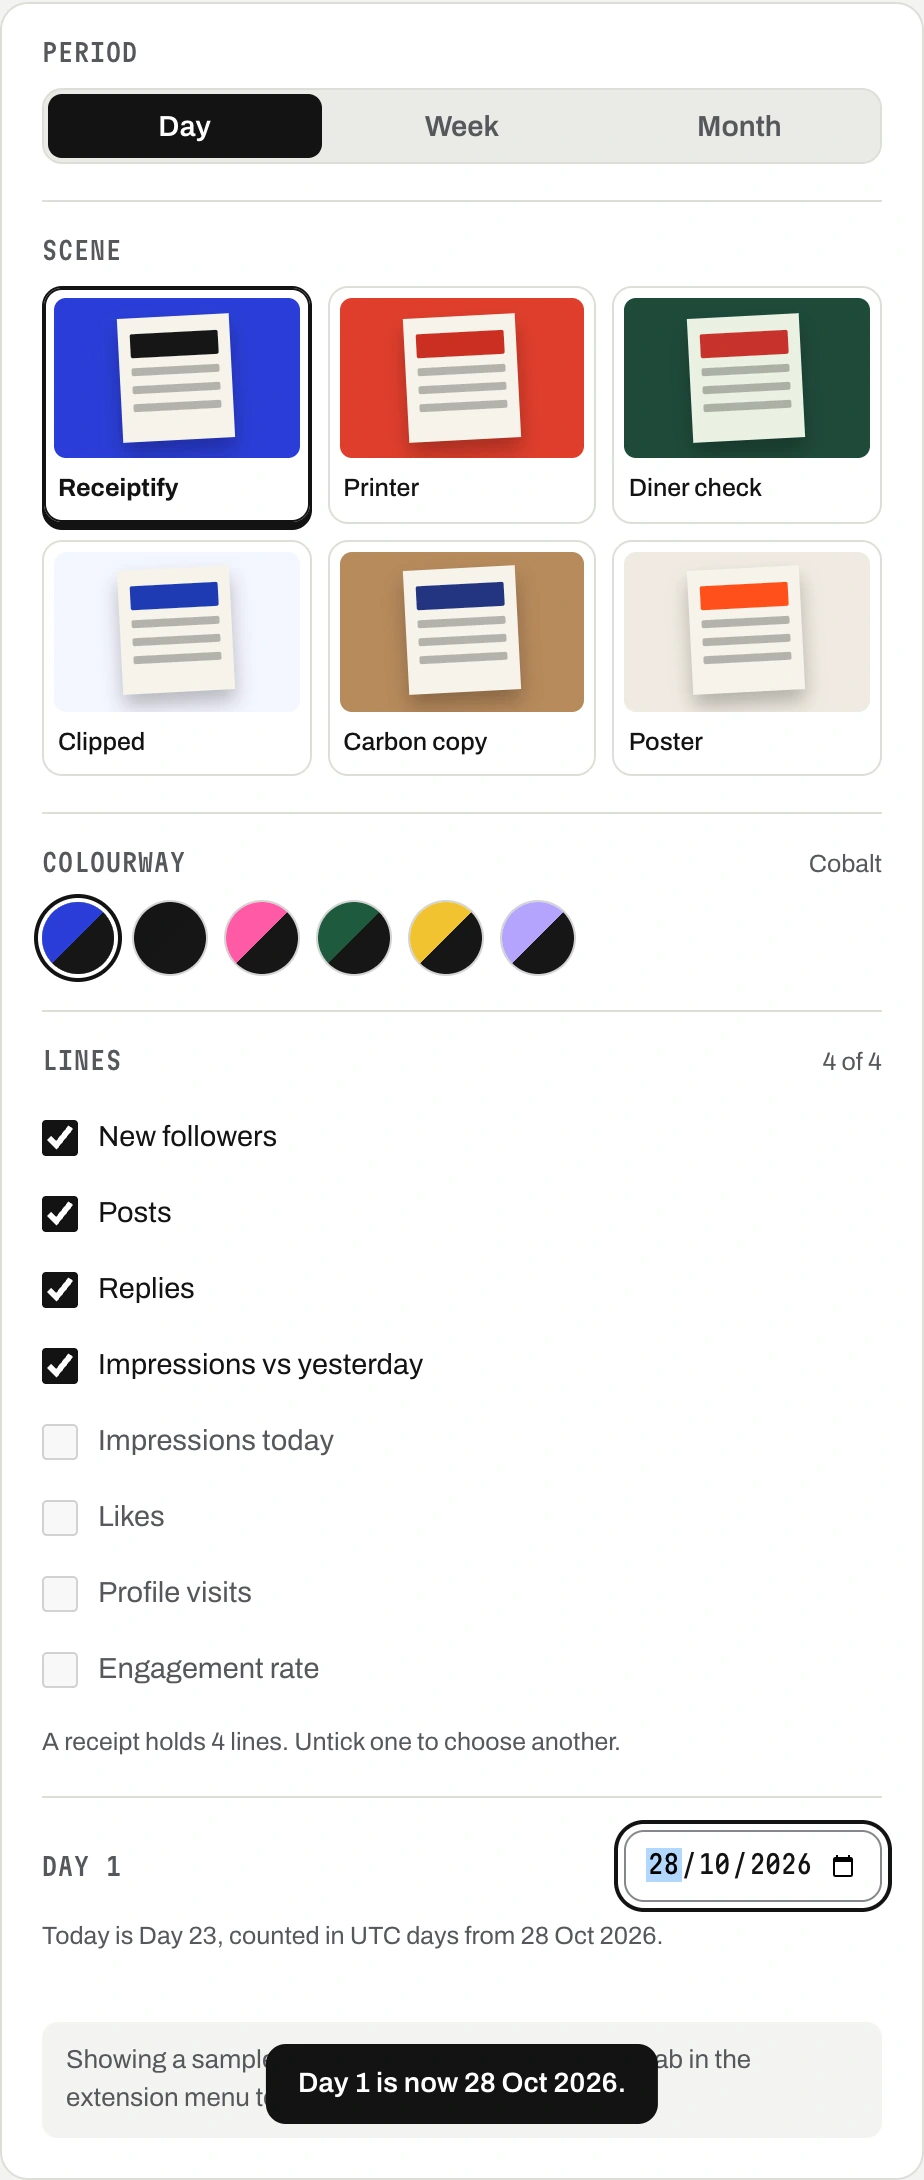
Copy or download the receipt
Check the preview. A receipt with your readings uses the numbers the kit could save. Choose Copy image or Download PNG to share it yourself.

Make a Week or Month recap
Read the period and choose a recap
Use Read current X tab on X Analytics with All viewers and the dates you need. Save the account you read if you haven’t yet, then open Receipts. Week uses the last seven complete UTC days. Month uses this month through yesterday UTC.


Check coverage and export
Read the dates and coverage printed on the recap. Missing days can leave totals as dashes. Choose Copy image or Download PNG below the receipt.
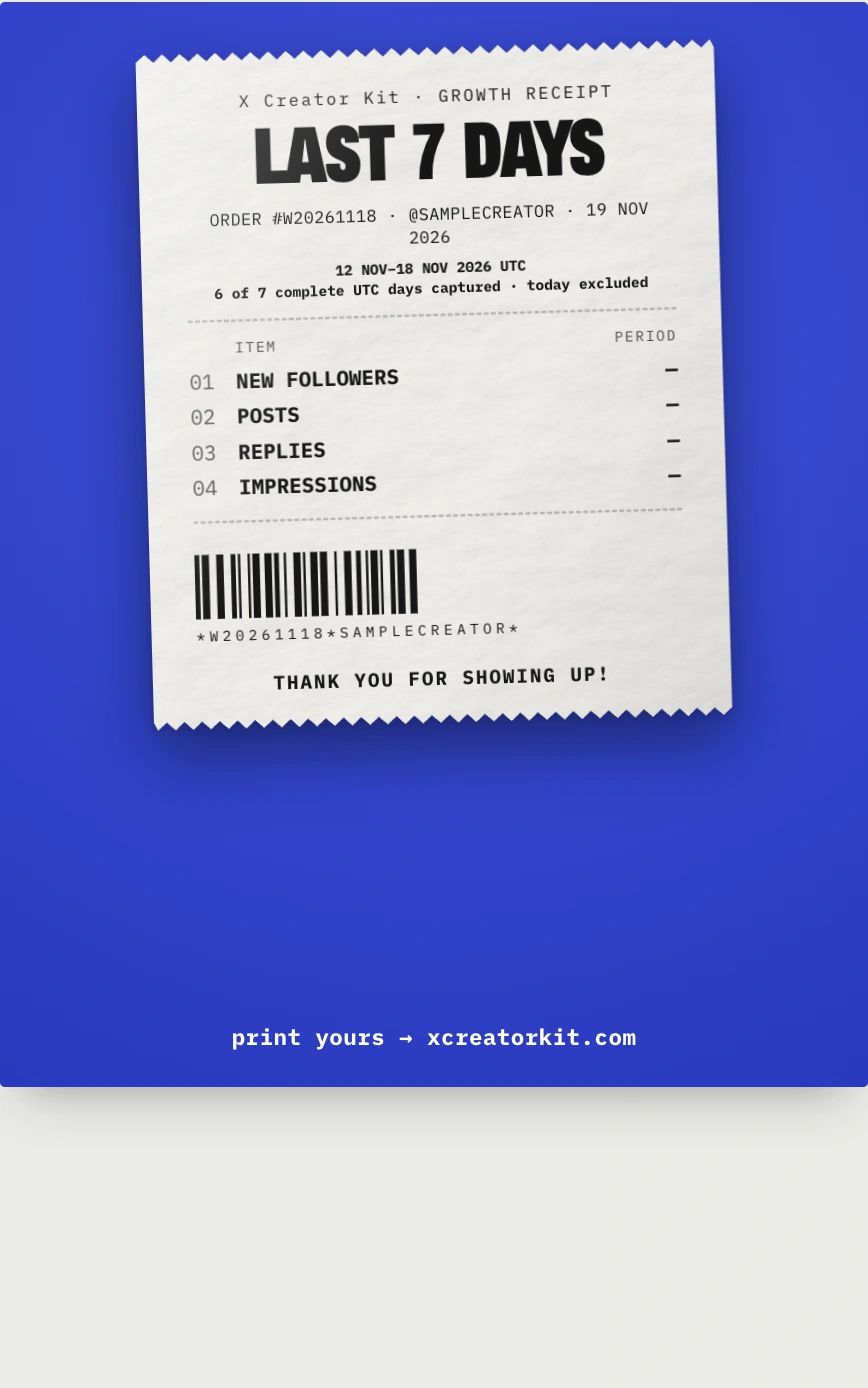
Example data
Turn a post into a PNG
Select the post and enable images
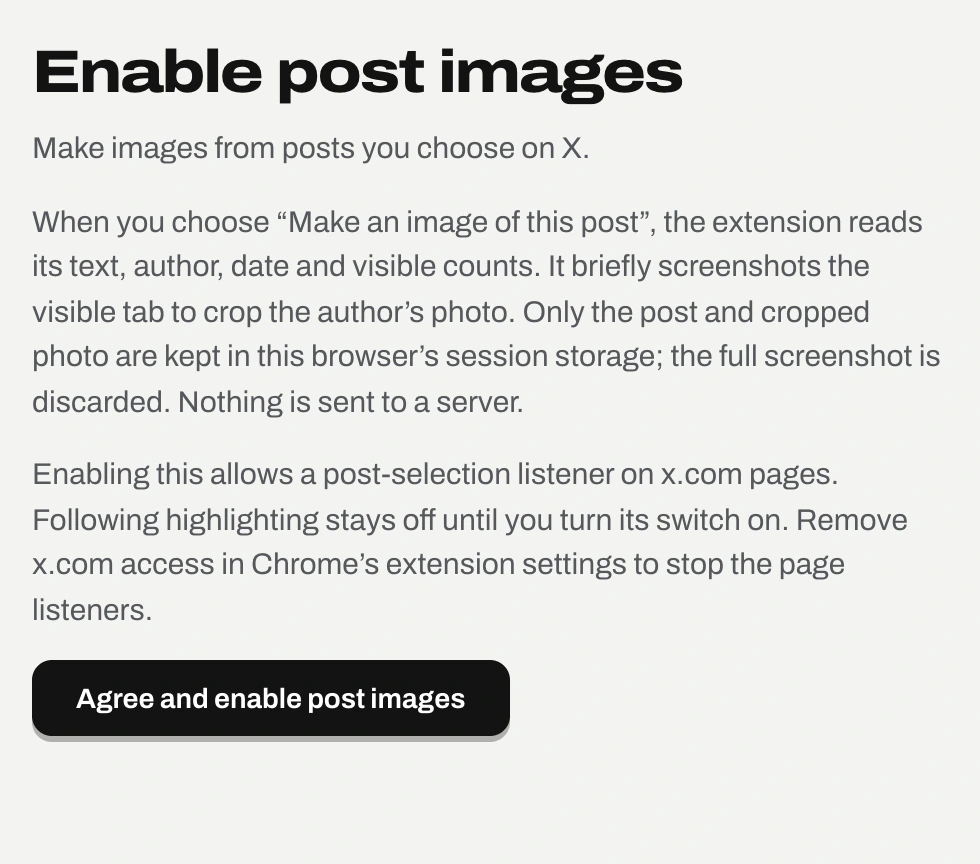
On X, right-click the text or image of the post you want. Choose Make an image of this post. On first use, read the notice, choose Agree and enable post images, and allow x.com access if Chrome asks. Return to the post and repeat the right-click action.
Check the post in the preview
The editor opens with the chosen post. Keep the author’s profile photo fully visible on X if you want it copied. When the photo is unavailable, the card shows initials.
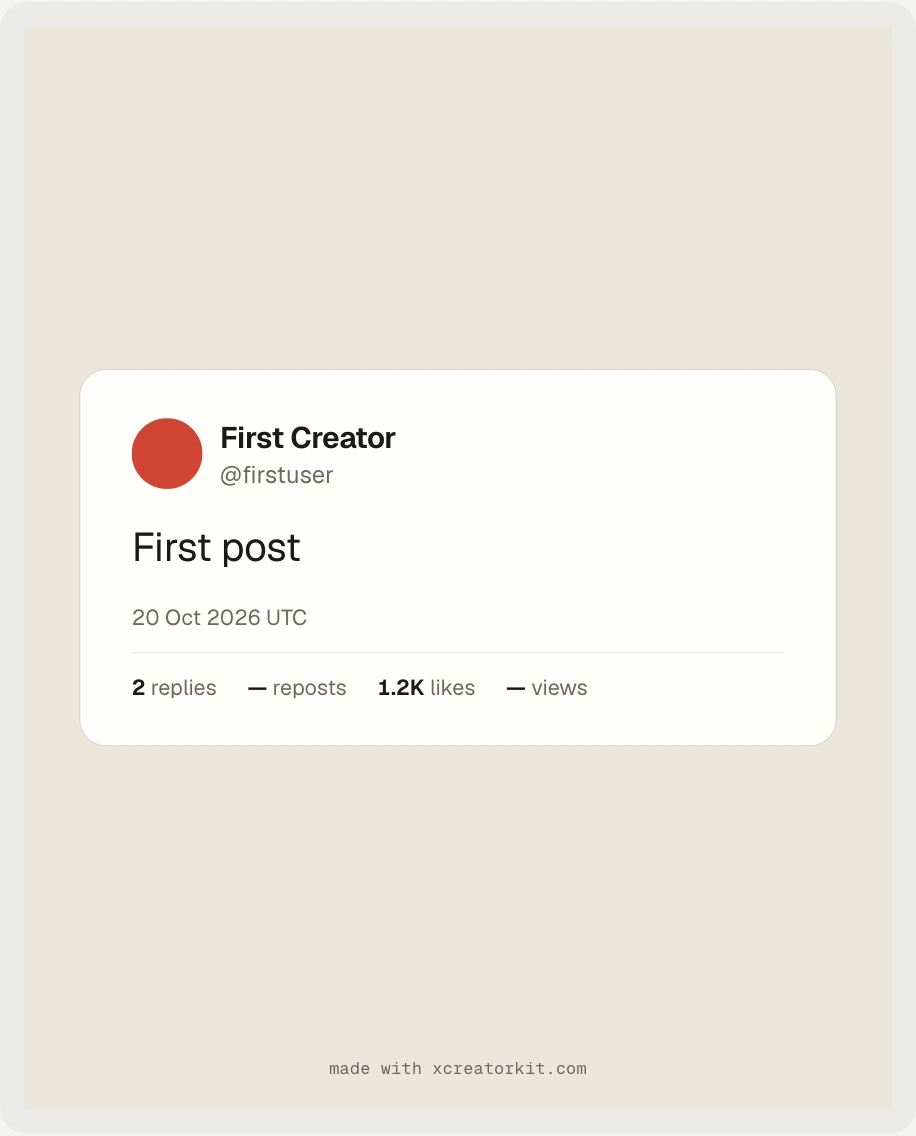
Example post Set the look and save the PNG
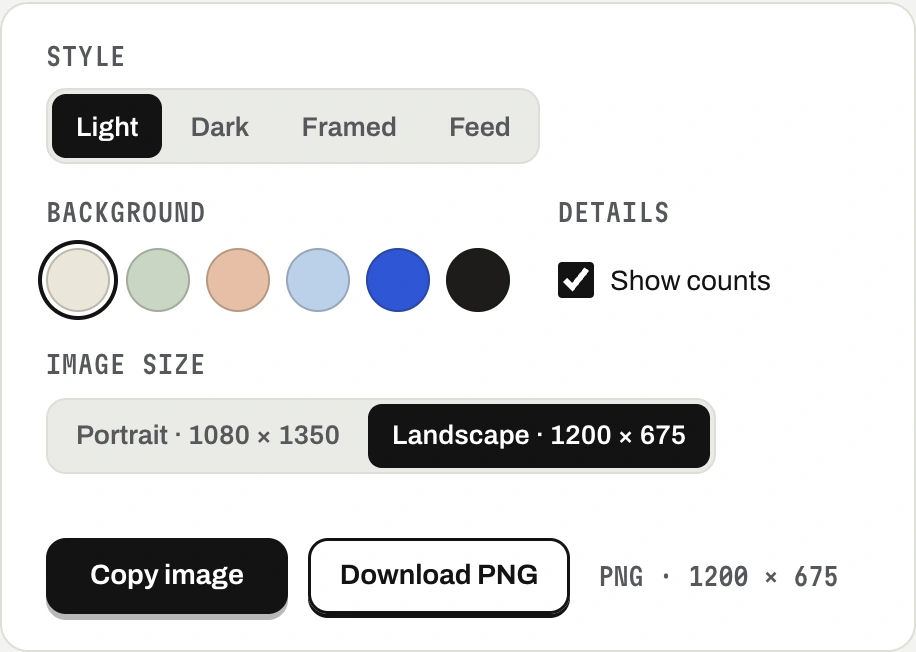
Set Style, Background, Show counts and Image size. Choose Copy image or Download PNG to save or share it yourself. Unavailable counts appear as dashes.
Draft, edit and copy an X reply
Open and enable the English beta
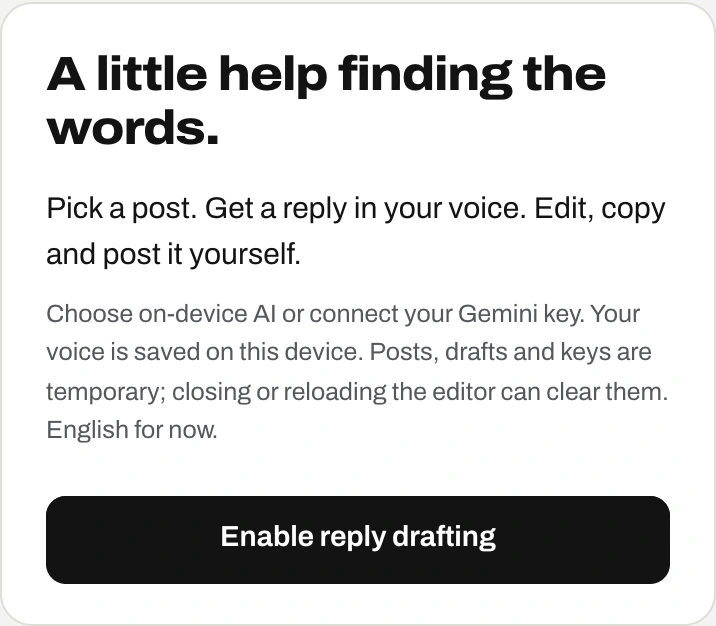
Choose Reply drafter in the toolbar chooser. In the Chrome side panel, read the notice and choose Enable reply drafting.
Paste the post or opt in to right-click capture
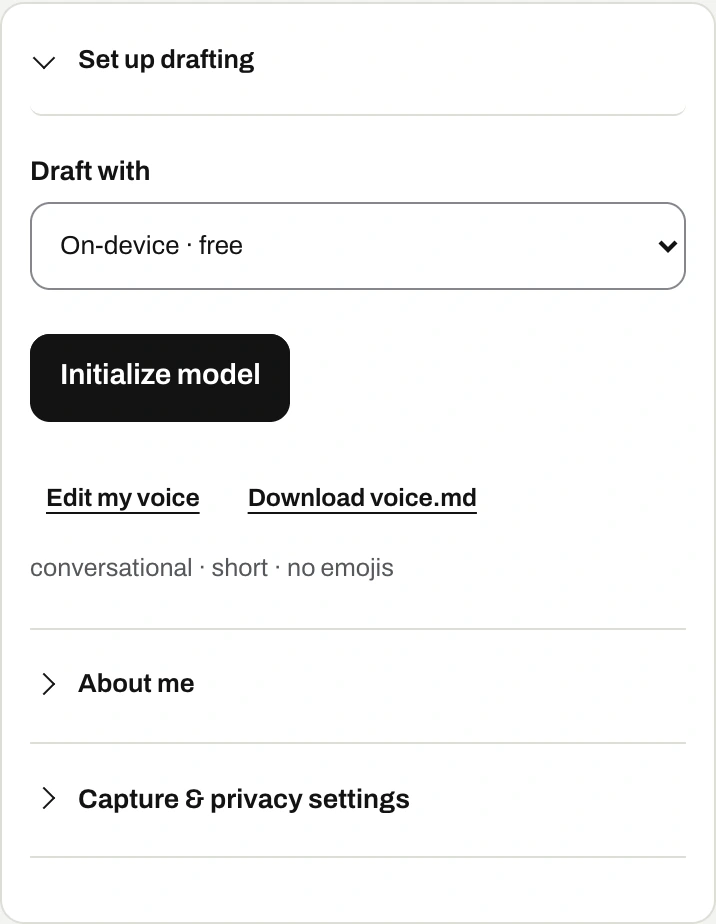
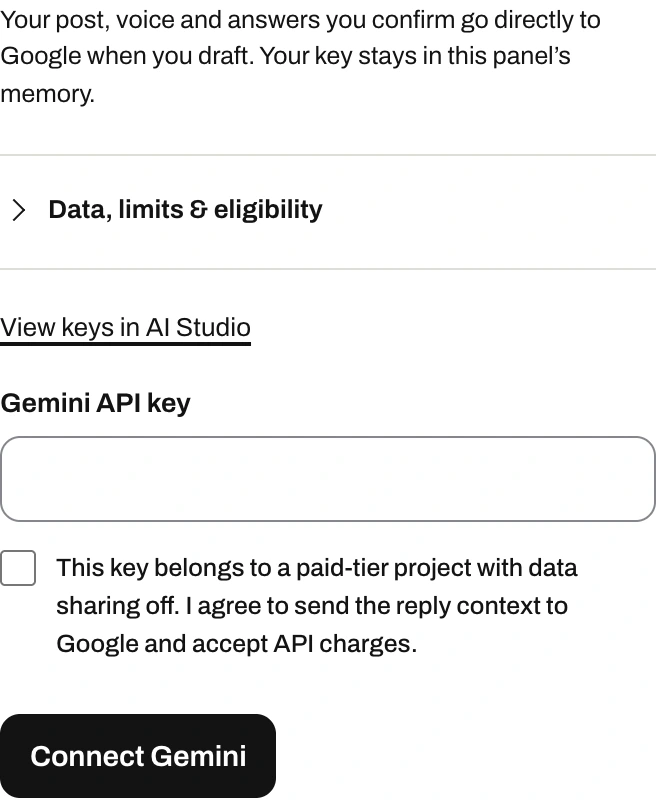
Paste text into The post to start without granting X access. For right-click capture, open Set up drafting (shown as Settings · Connected once ready), then Capture & privacy settings and choose Allow X text capture. After granting access in Chrome, right-click a public post and choose Draft a reply to this post.
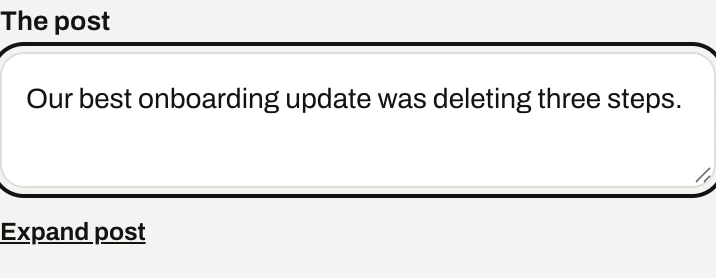
Example post 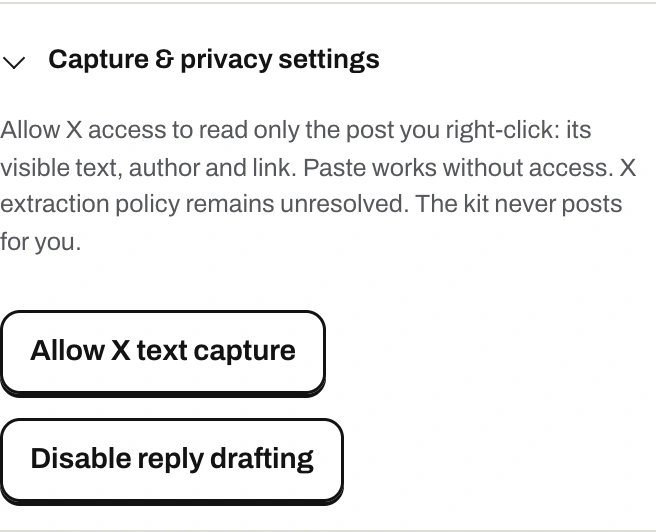
Draft, edit, and post it yourself
Choose Draft reply. Add your own details if prompted. Review and edit Your reply, then choose Copy. If you want to publish it, paste the text into X’s reply box and post it yourself.

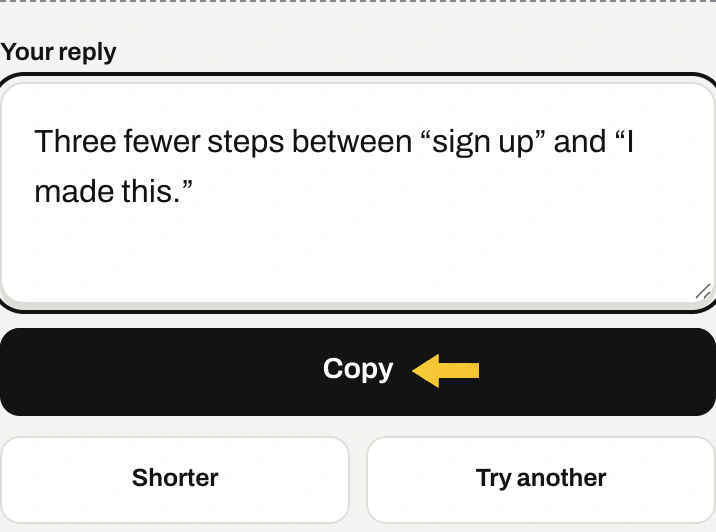
Example reply 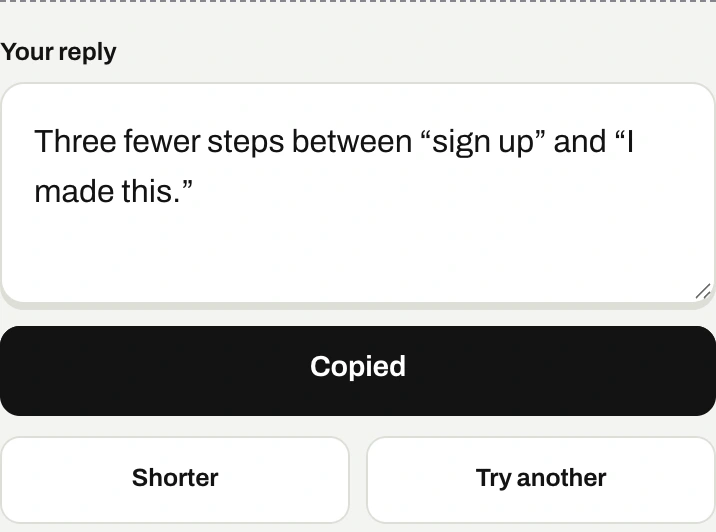
Example reply
Check follow-backs on your Following page
Turn on the highlighter
Open your own Following page on X. Choose Following settings in the toolbar chooser. Enter Your X handle if the kit does not find it. Turn on Highlight non-follow-backs and allow x.com access if Chrome asks.
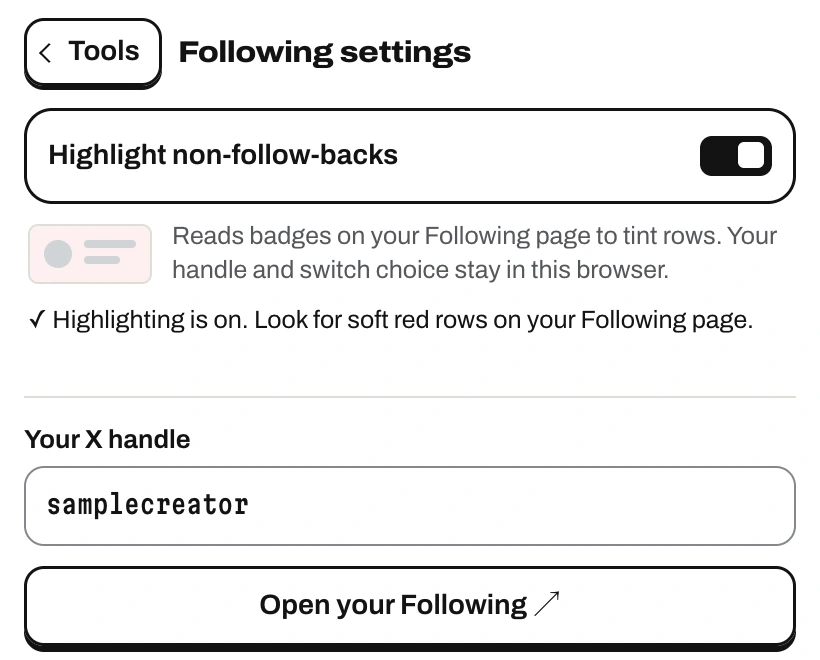
Example account Scroll your Following list
Choose Open your Following or return to your list. As X loads rows, the extension tints the rows it can read that lack X’s Follows you badge. This reflects the current badge. Switch highlighting off in Following settings to clear the tint.
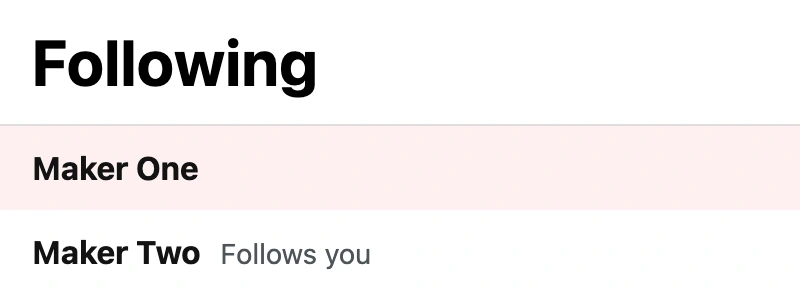
Example Following list